Invite your next student
They accept using their verified Golf account, then choose the swings they share.
THE COACHING CONNECTION
Build a lesson, explain the movement and send a practice plan that follows your student to the camera.
Sign in to your StudioUse your verified GhostMan account. A new coach needs a GhostMan account invitation before accepting their student's private lesson.
YOUR COACHING WORKSPACE
Review a swing. Explain one clear correction. Build a practice plan your student can take to the camera.
BUILD YOUR FIRST GHOST LESSON
Everything stays together: the original swing, your explanation, the address reference and the plan.
EXPLORE BEFORE YOUR FIRST STUDENT
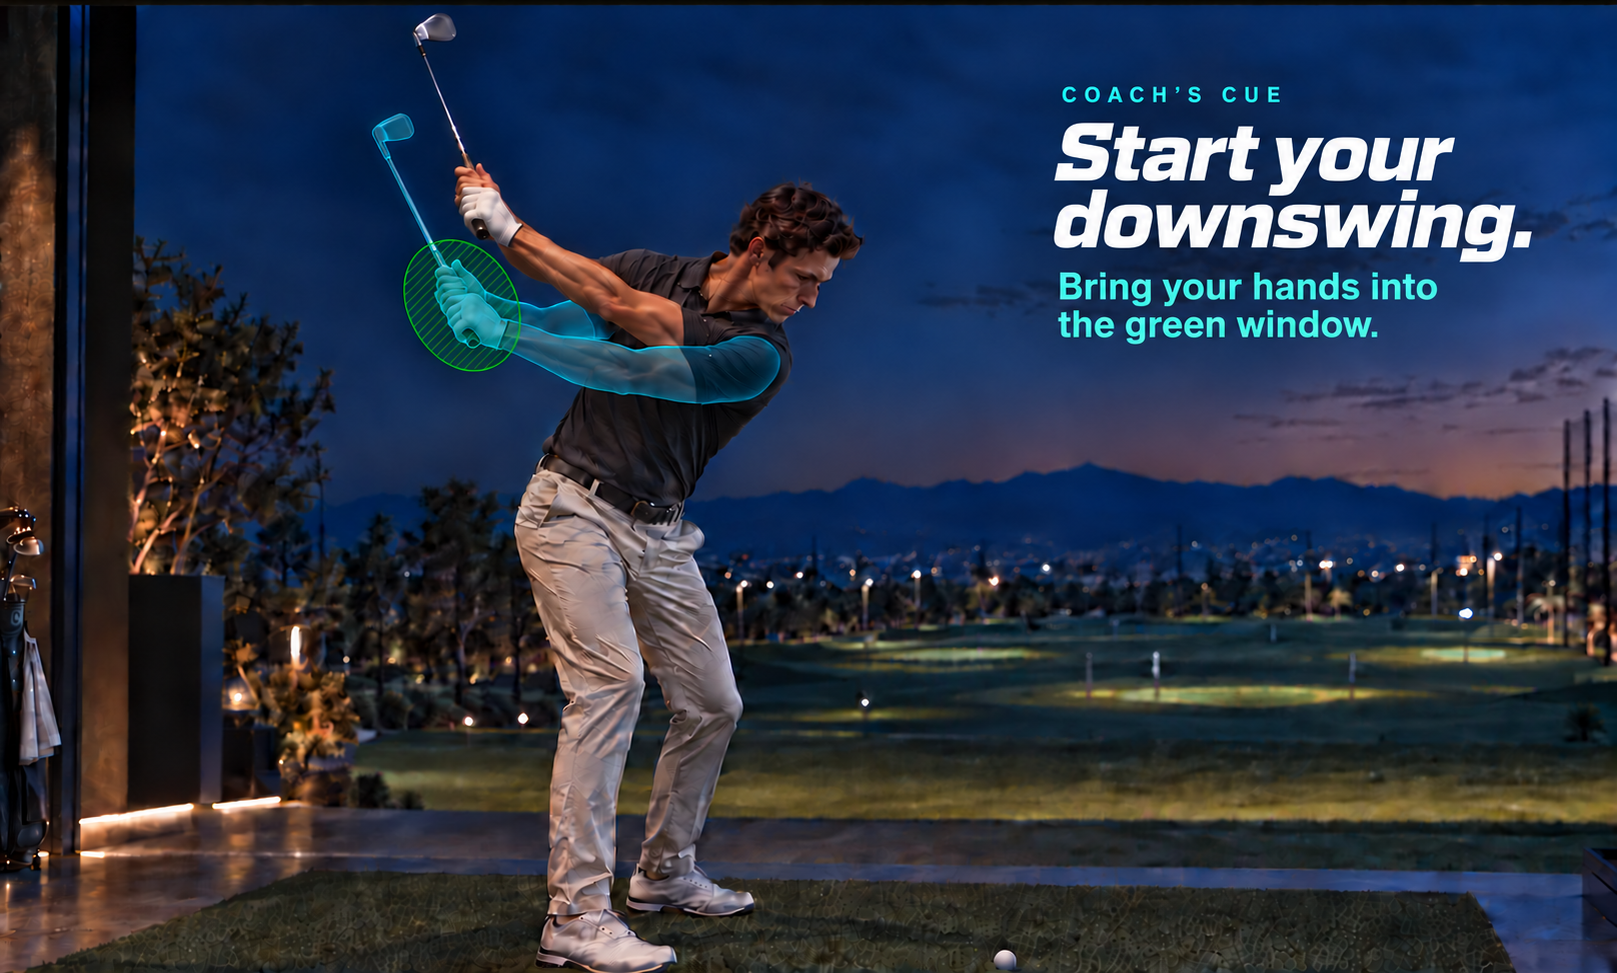
Explore the teaching tools and a five-slow, one-normal practice block. This illustration is a teaching example.
YOUR STUDENTS
Each connection keeps that student's swings and lessons private.
They accept using their verified Golf account, then choose the swings they share.
TOOL LIBRARY
Choose a guide, understand what it measures, then personalize it to the golfer's address.
PRACTICE PLANS
Continue your drafts, reuse personalized templates and review published training plans.
LESSON LIBRARY
Open the saved walkthrough, teaching guides and practice plan for each published lesson.
PRIVATE COACHING
Play the narration to follow your coach's pauses, video positions and guides.
These local recordings belong to your signed-in account. Save a local copy even if the original capture link expired.
Your own generic demonstrations can be reused. Private student recordings remain attached to their lesson.
RECORD WITH PHONE
The camera starts only when you choose to check it. Keep this page in the foreground.
Save a local copy